Fueltank Crab & Hermit Carb:
Yo!! Its been a while since i blogged last. But I’ve still been busy building, crafting and sculpting. So lets just continue as if my laptop wasn’t being a wank and I wasn’t to lazy to fully update and fix it, for the last 3 months? Good stuff, on we go!
The tarantula sculpture gave me an idea or two as I was building. The small cheap spanners I was using for the long spindly spiders legs would make equally good long spindly legs for other insect or insect like pieces to be made later. I now needed a new project to get started on!!
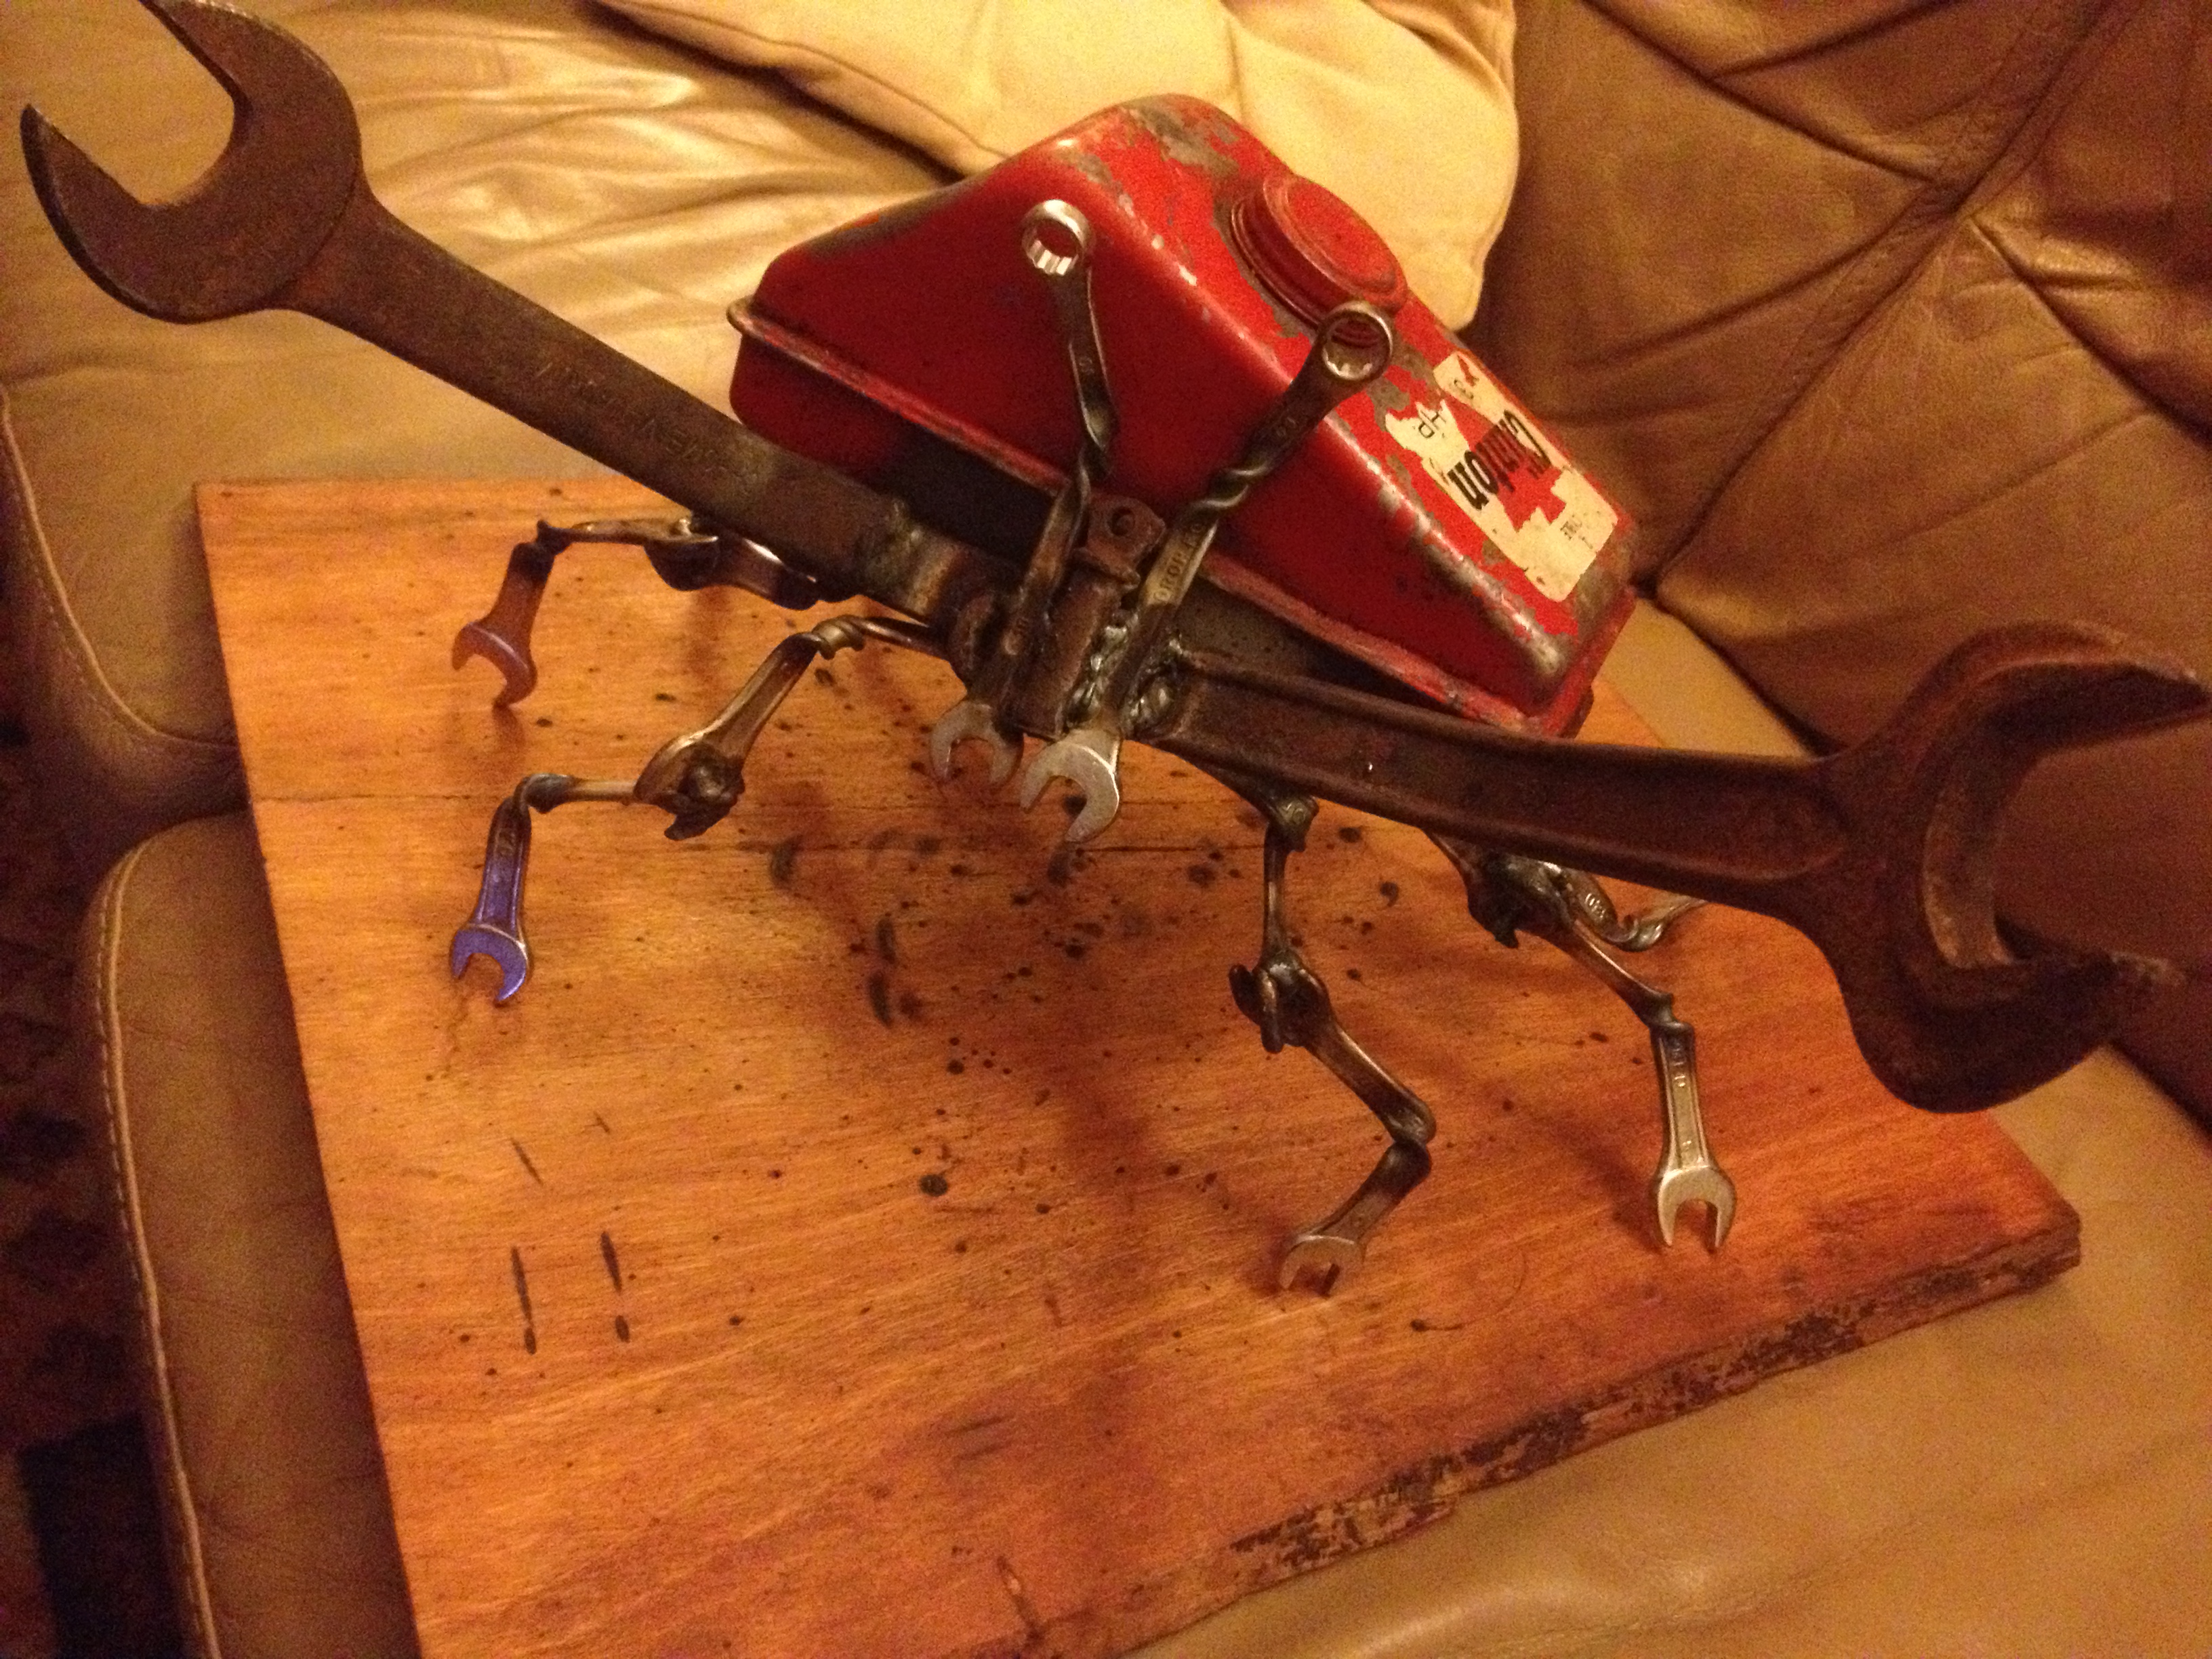
As chance would have it I already had a few ideas and designs jotted down in my moleskin, and a good supply of parts to get started, so I did. As with the tarantula I had decided to make a piece based around one key large part, in this case the fuel tank from an old 2 stroke engine, possibly from a mower or similar piece of equipment. To me the fuel tank resembled a large edible crab shell, add to that the fact that it was painted red, but worn and peely in places, and I had a crab sculpture to get started on!

The size and shape of the shell were already defined for me by the fuel tank, little I could do to this at the early stages, so I started with the legs of the invertebrate. A rusty old shackle would serve as the (if you will imagine for a second) chassis for the crab with the 8 legs to be welded to.
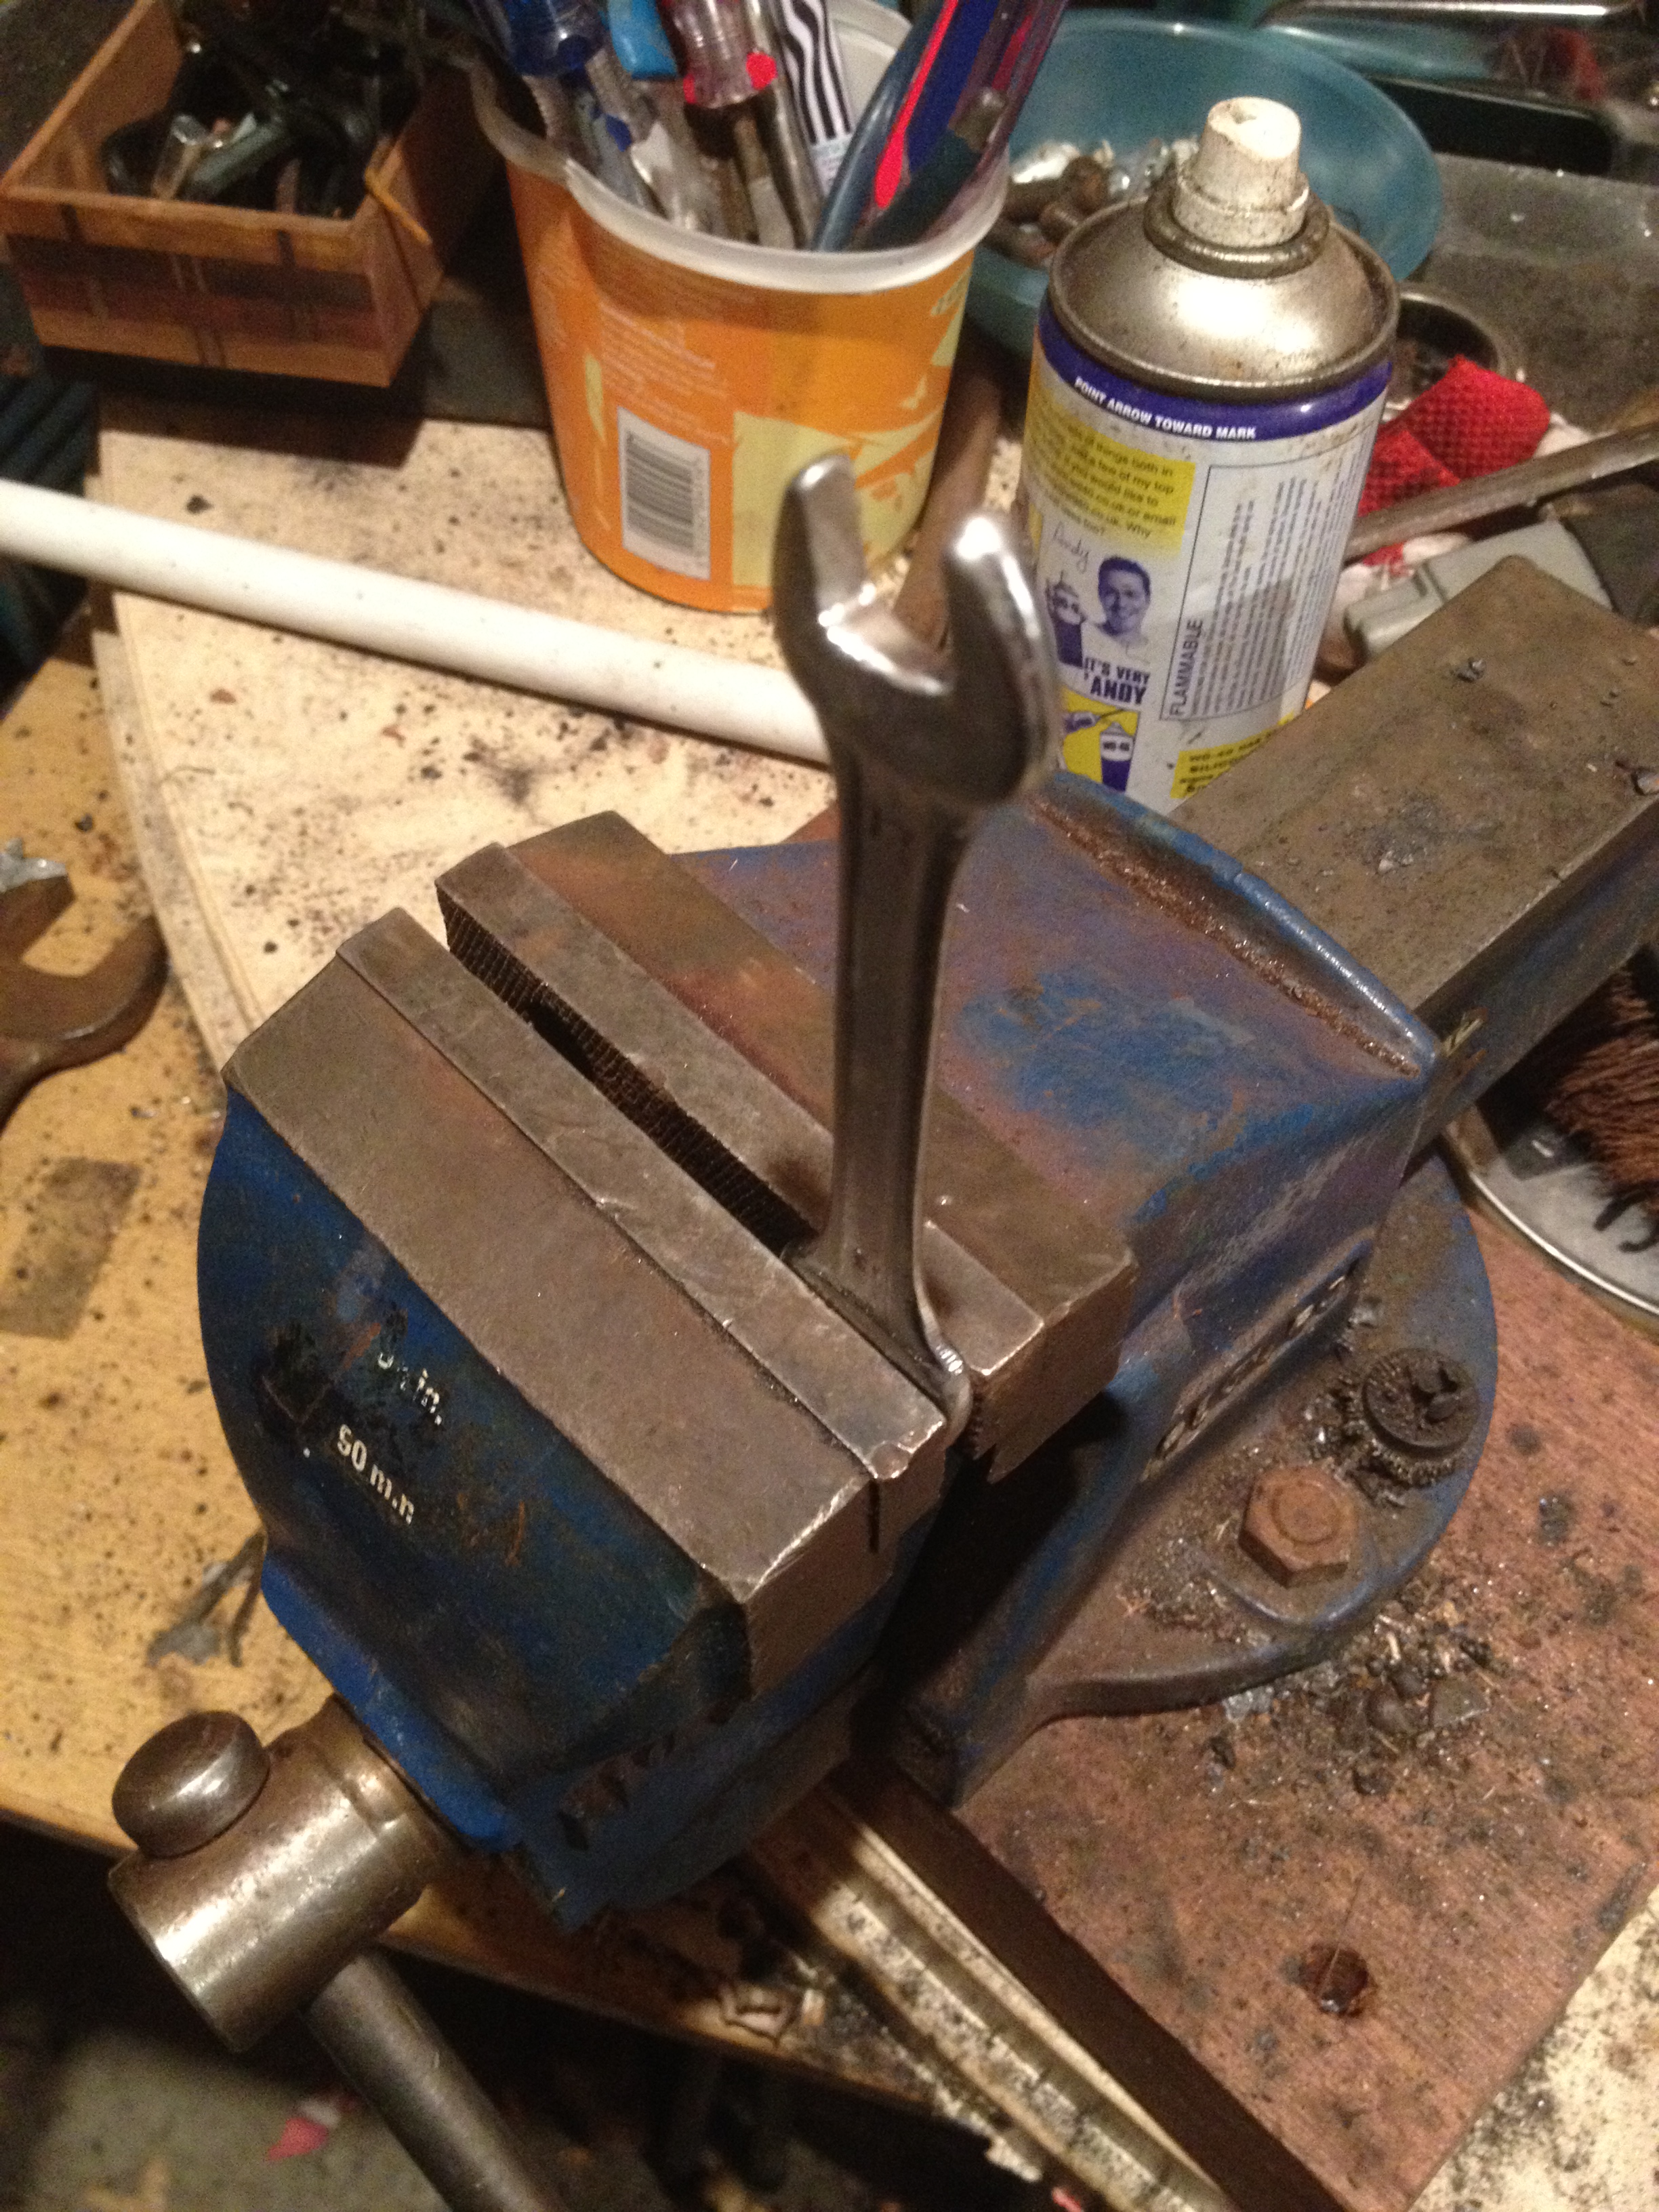

As with the spider sculpture the leg spanners were first heated by blowtorch and then twisted and bent in the vice to make them into usable shapes and pieces. Using a magnet I was able to place the spanners and get a rough idea about where I would like to weld each of them in turn.


Also at this time I took the two biggest oldest spanners I had left lying around after Skeletron was built, these would become the claws of my crab, once I had welded one of them to the same length as the other.


Time to weld the first sections of the 8 legs to the rust old shackle. I had to clean off a fair bit of the rust with a wire brush and abrasive pad before I could weld start to weld as these impurities can cause a poor weld initially. The keen eyed among you out there will have seen that I am using the same kind of wood for the mounting board as I did for the Spider. I have a few more of these boards cut so expect to see more again soon.


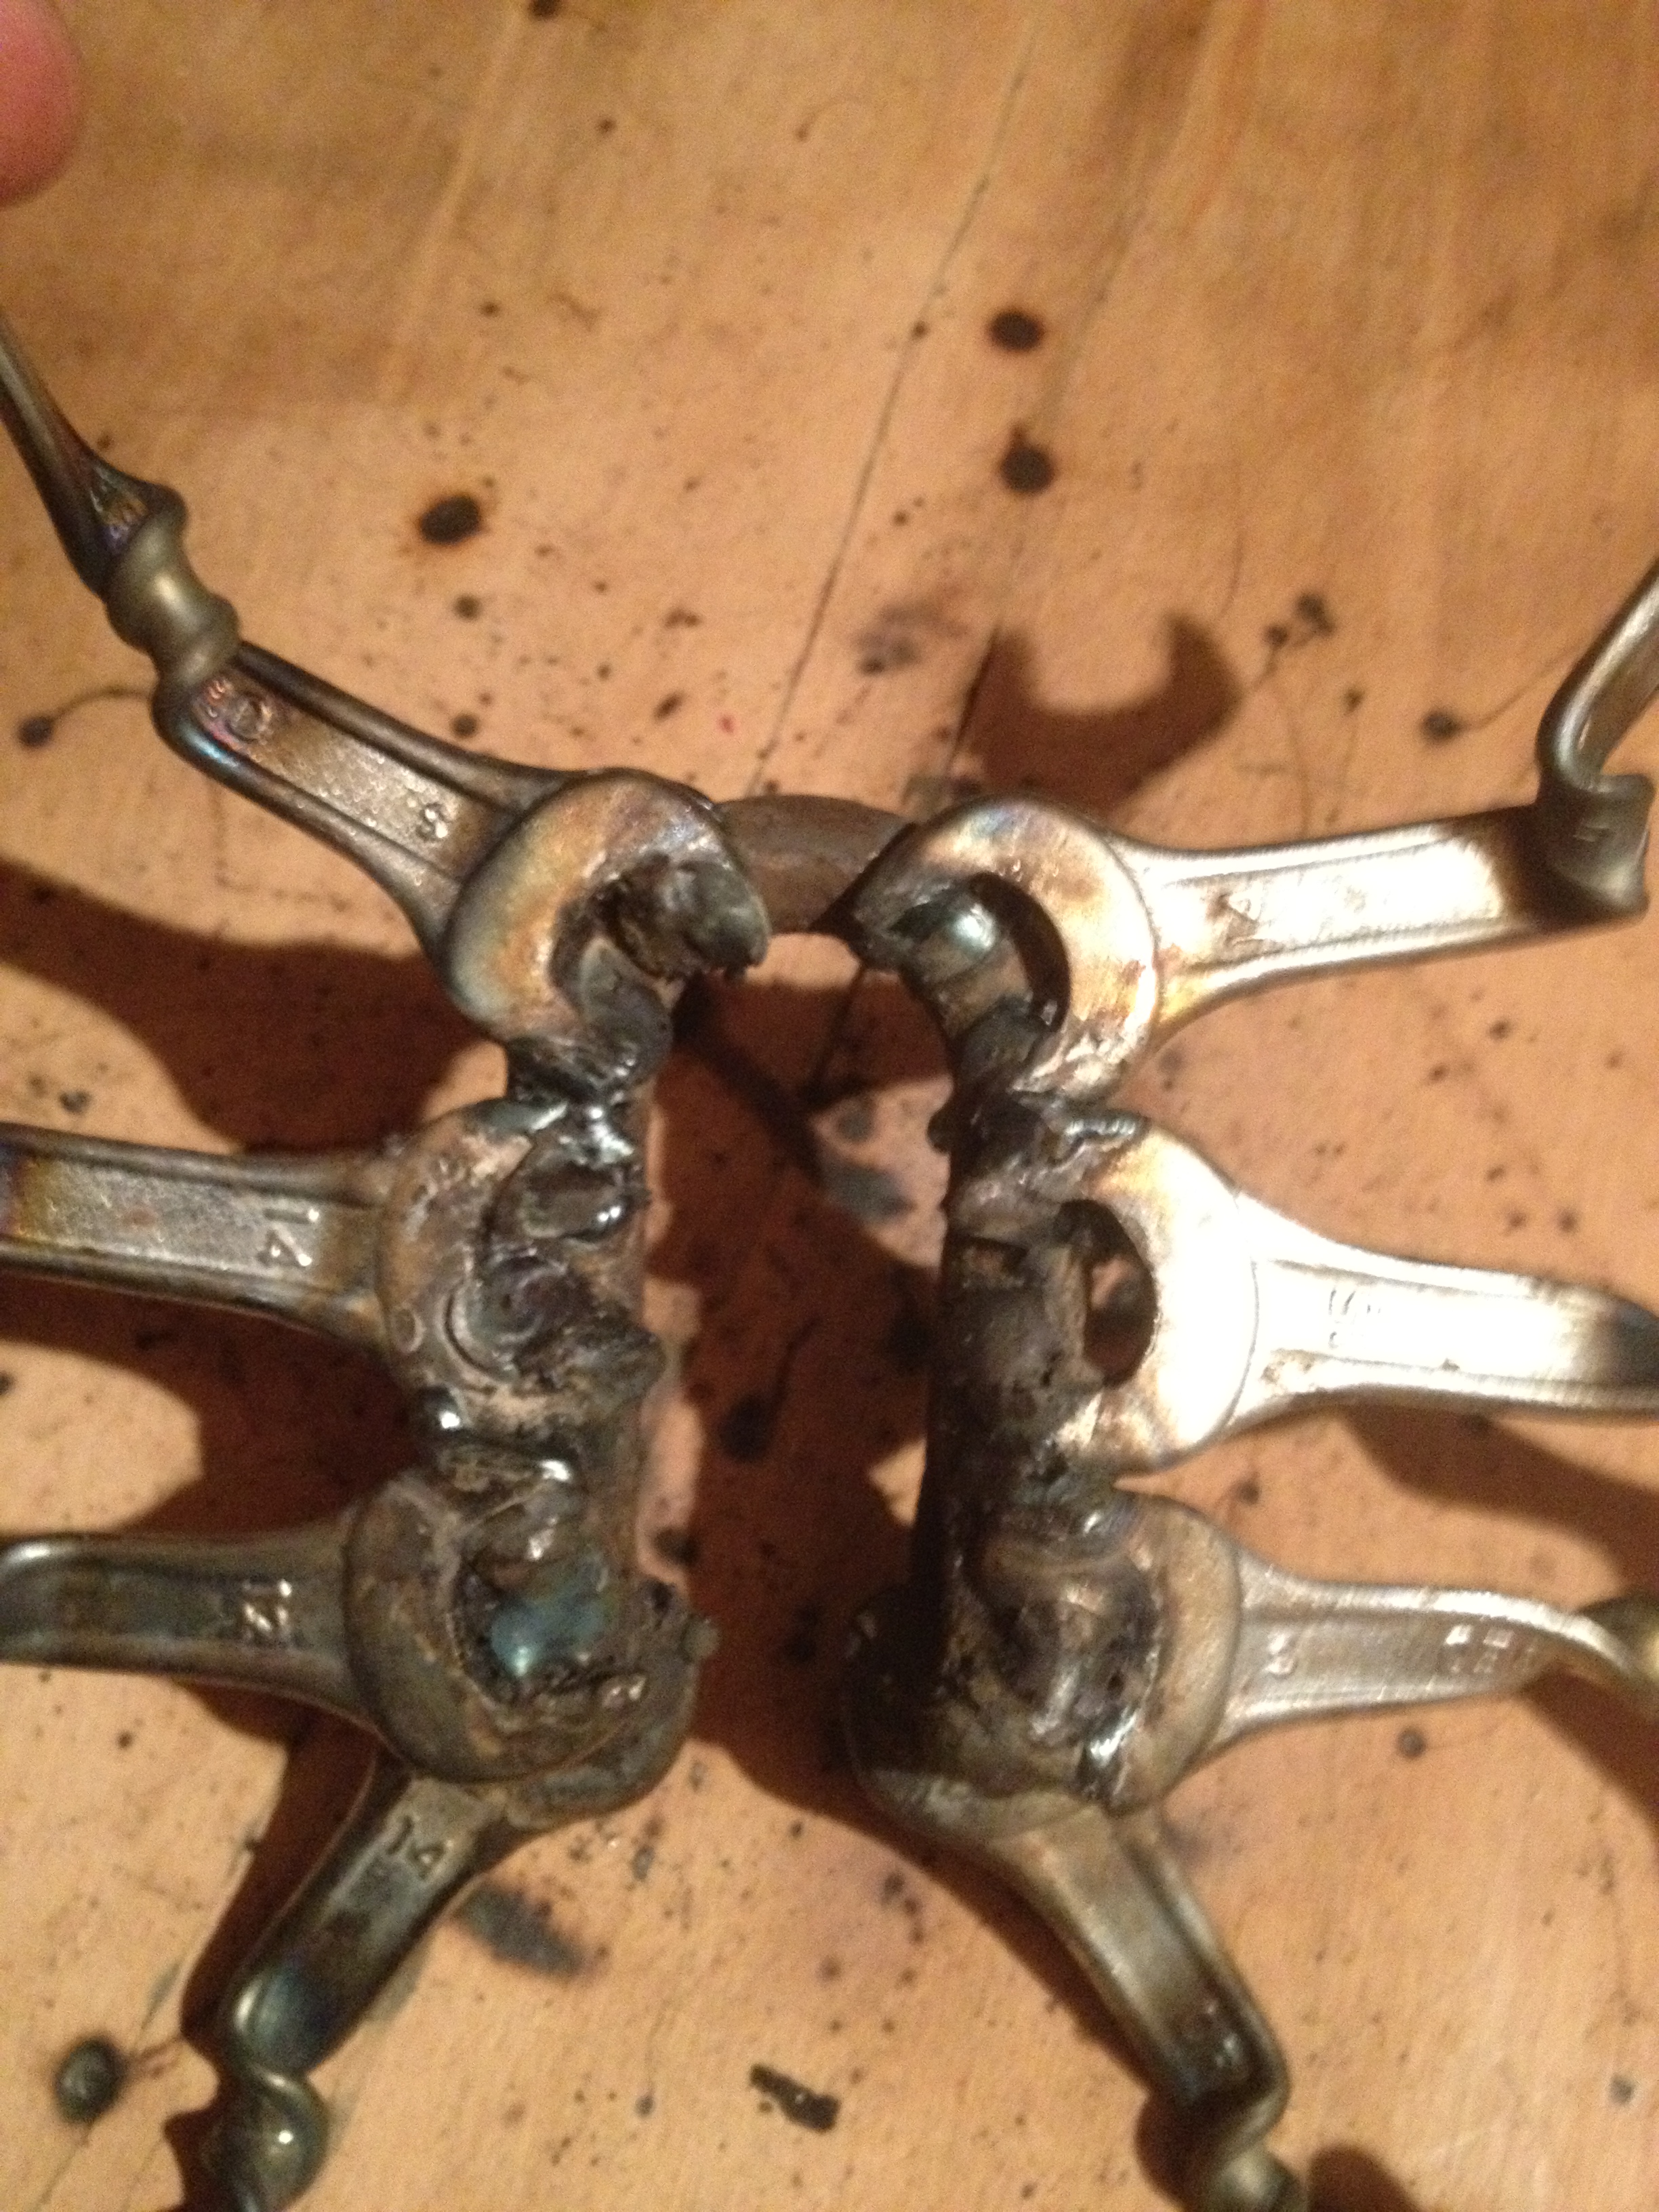
The first leg sections are welded nice and solid, I had to overlay a couple of them in places as the shackle was not quite big enough for all 8 to be laid out flat. With that done its time to layout the next 8 sections and join them all up also. At this time I took the liberty of bending the two very big spanners I was to use for the crabs claws.

When welding 2 or more parts together the high electrical current can very quickly heat up the metals, to an alarming degree! However the thickness of my welding gloves and the convenience of my water bucket for quenching hot steel means that so far I am yet to suffer a major burn in my garage.

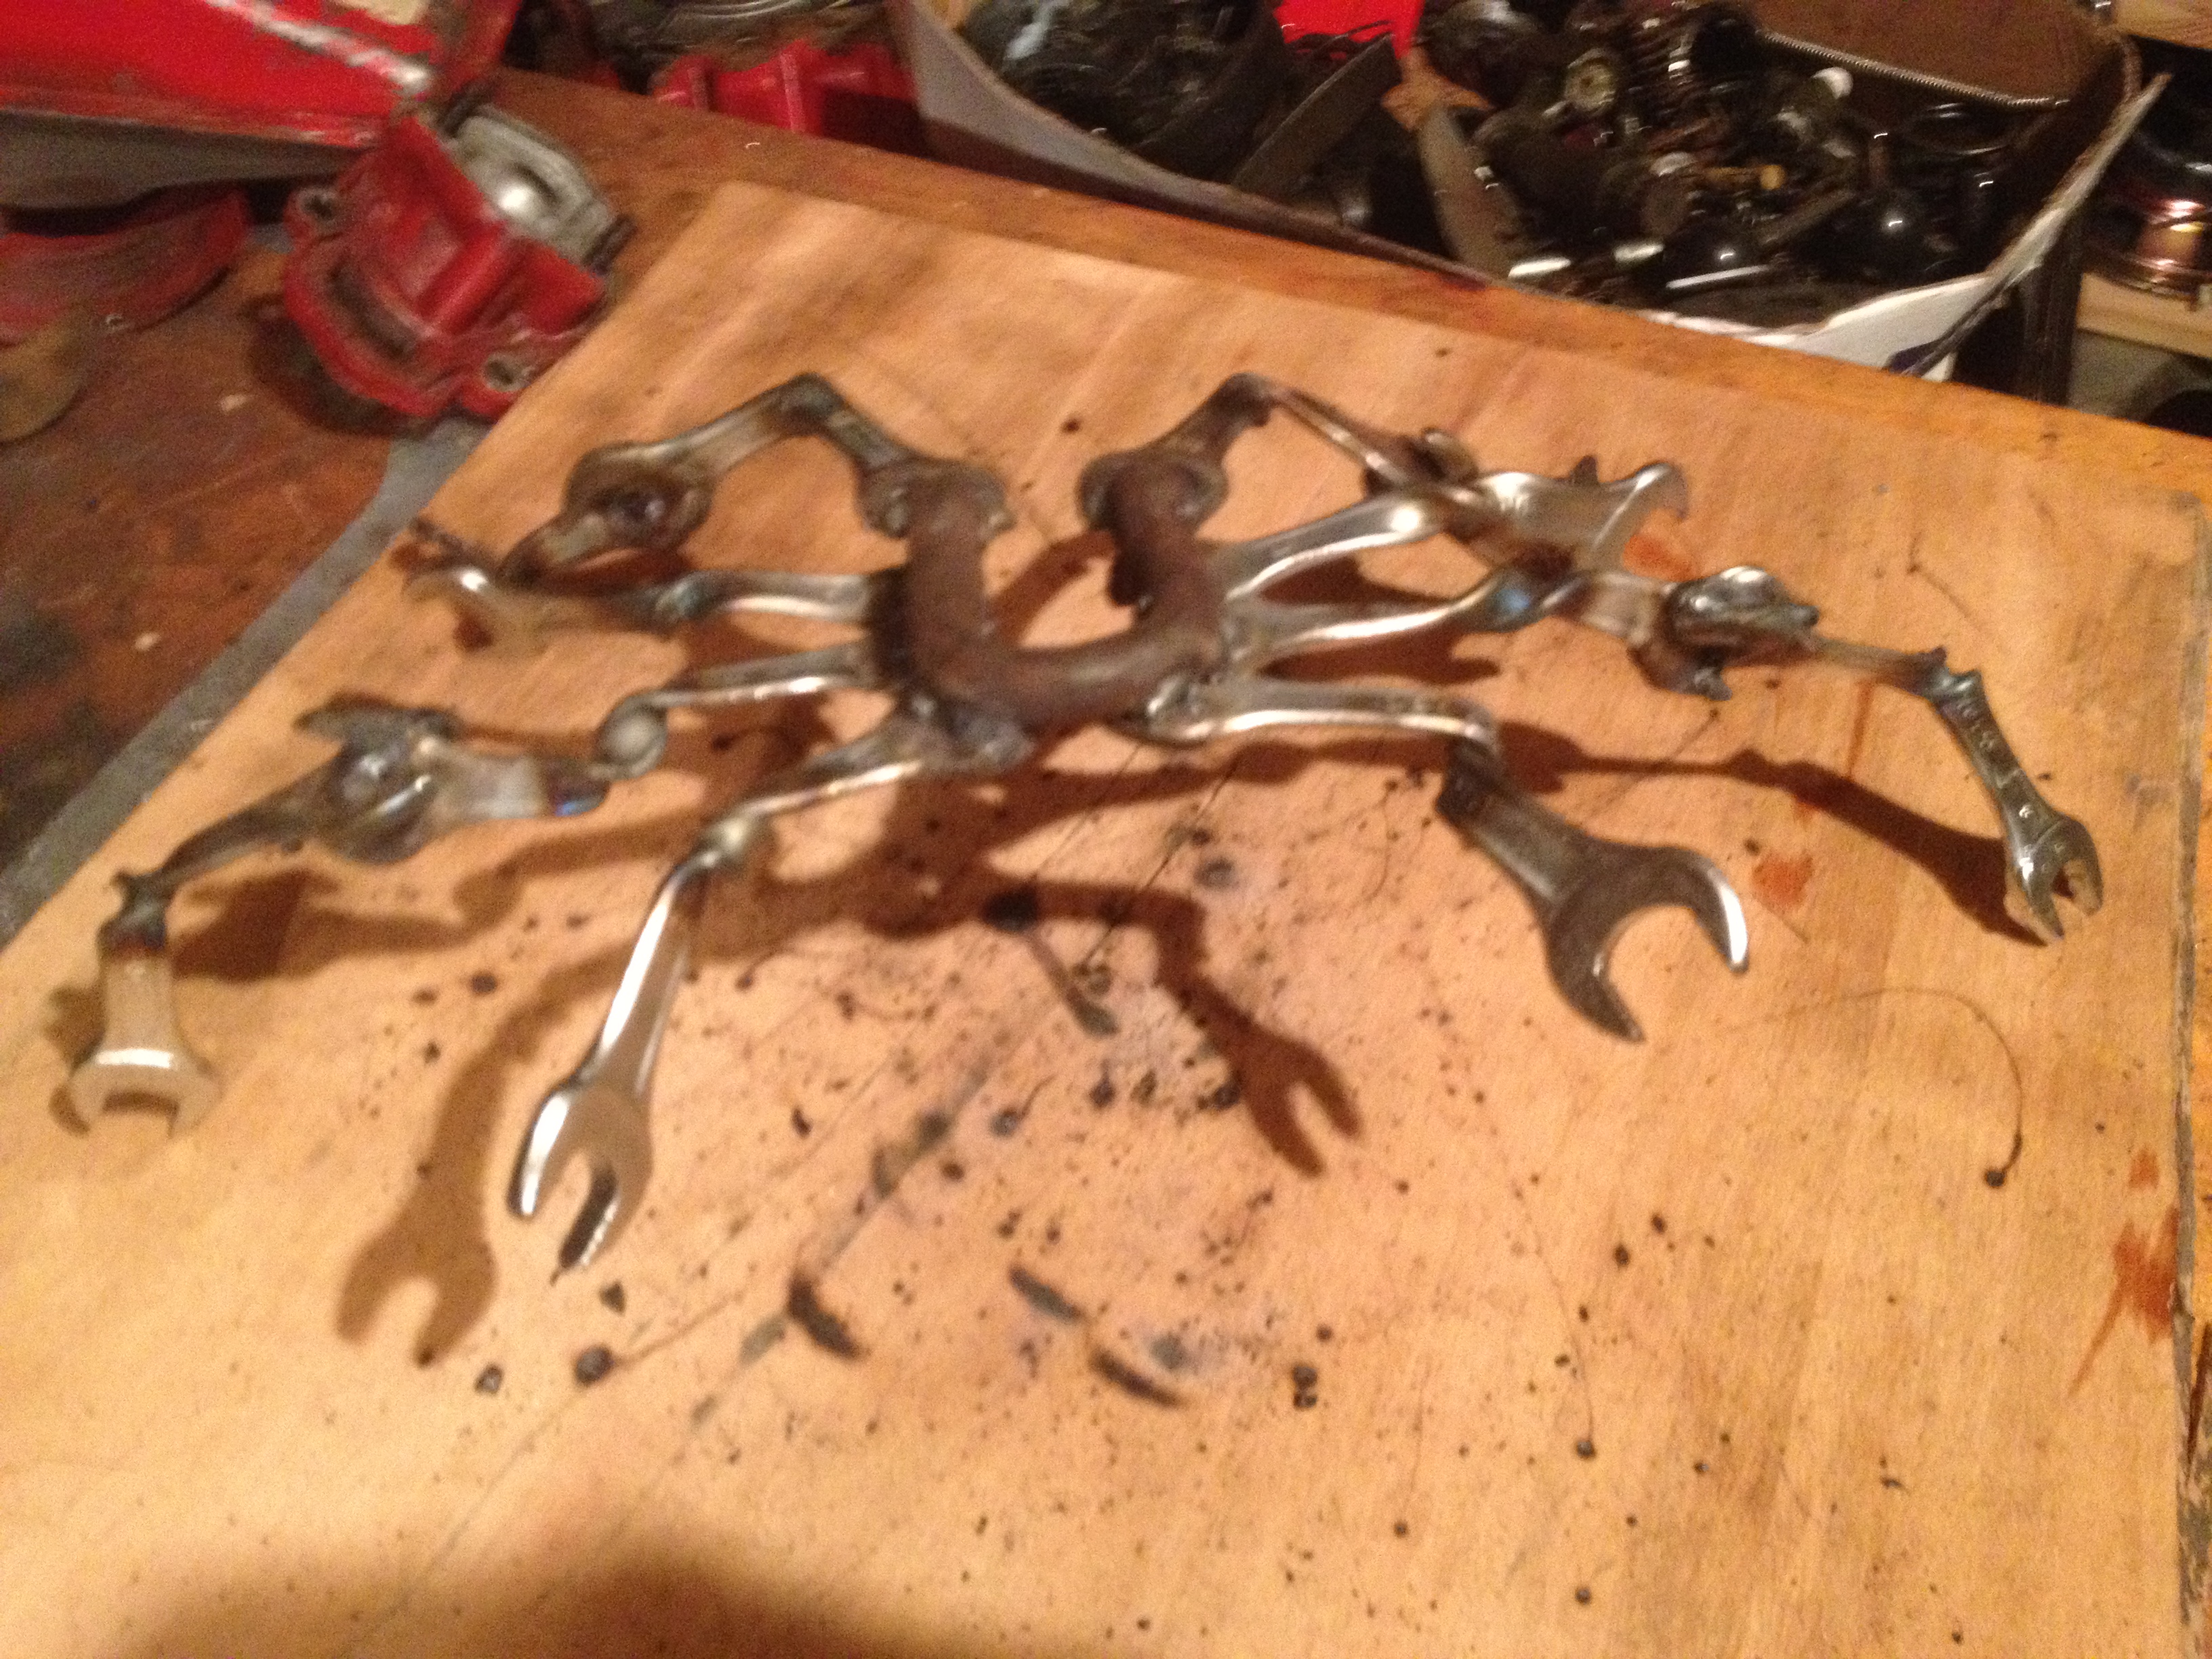
With all the sections of leg now fully attached the crab was starting to come to life, no not literally obviously. Next up I added the two very big and very rusty spanners as the claws. I was going for a defensive kind of pose, much like the one of the crab in the very first image I sourced.


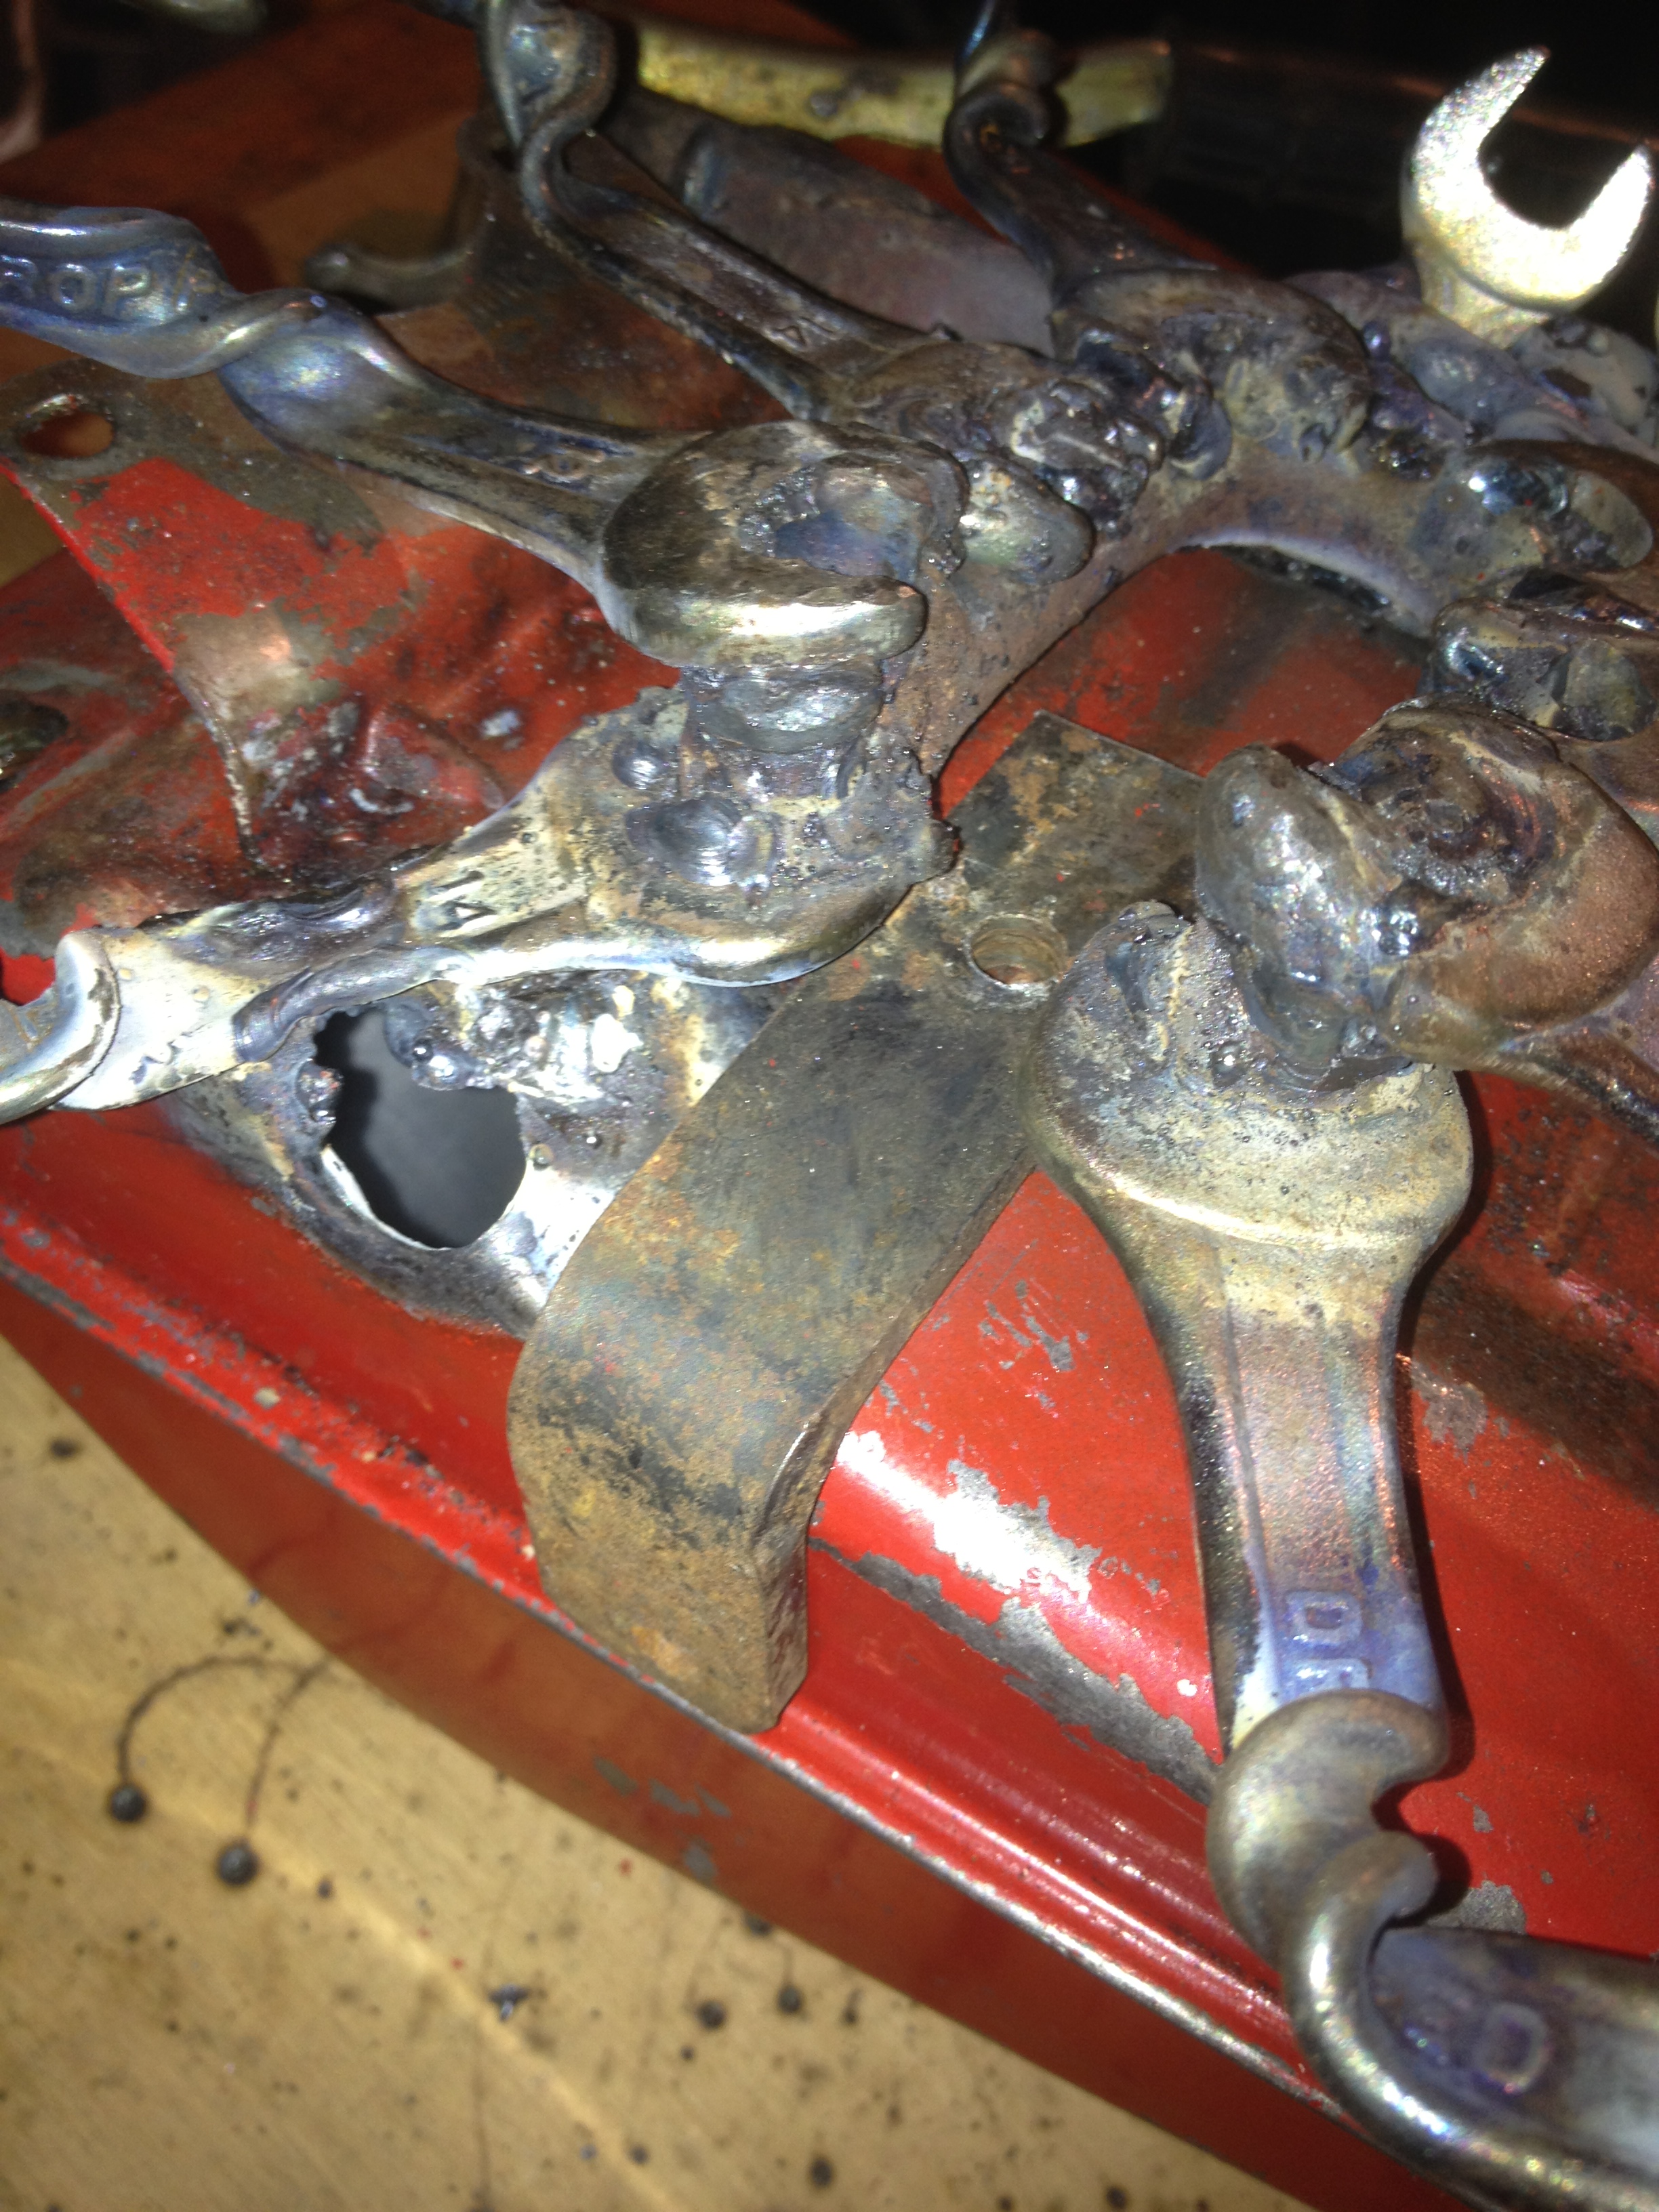
With the large claws welded onto the frame/chassis/legs, whatever you wanna call it, I could start work on the face, mouth, eyes etc. For the middle of the face I used the rusty pin from the shackle I started this piece with. It allowed a perfect place to mount the next two parts. The twisted and slightly bent ring spanners welded either side of the shackle pin served as the eyes on stalks, common to many crab species, and the two sides of the mandable/jaw from the open ends of the spanners.


In the last pic you can clearly see the red fuel tank from the old Clinton engine I found languishing in the back of my old tool shed. It is time to attach it to the rest of the sculpture now, which is not as easy as it may at first seem. As the tank was quite old and weighty I was hoping I could just weld it directly to the chassis of the crab, but I should have known from past experience that it was never going to work. What I needed was a short right angled bracket to weld to the chassis so I could pop rivet the fuel tank to it. And as luck would have it…….

With the fuel tank now fixed atop the chassis of the crab it was finished!!! I took a few photos to decide on how to position the beasty on the board. I’ve been told by a few friends that it looks like the cover image from the prodigys fat of the land album, and I guess it kinda does.


So, yeah. Finished……..except I wasn’t. I was about to permanently fix the crab to the board, by way of welding to screws going through from underneath, when I was hit by another image headache. While stripping the old engine for this fuel tank I had liked the look of a few of the other parts, specifically the neat little red carburettor, I had to make it into something.

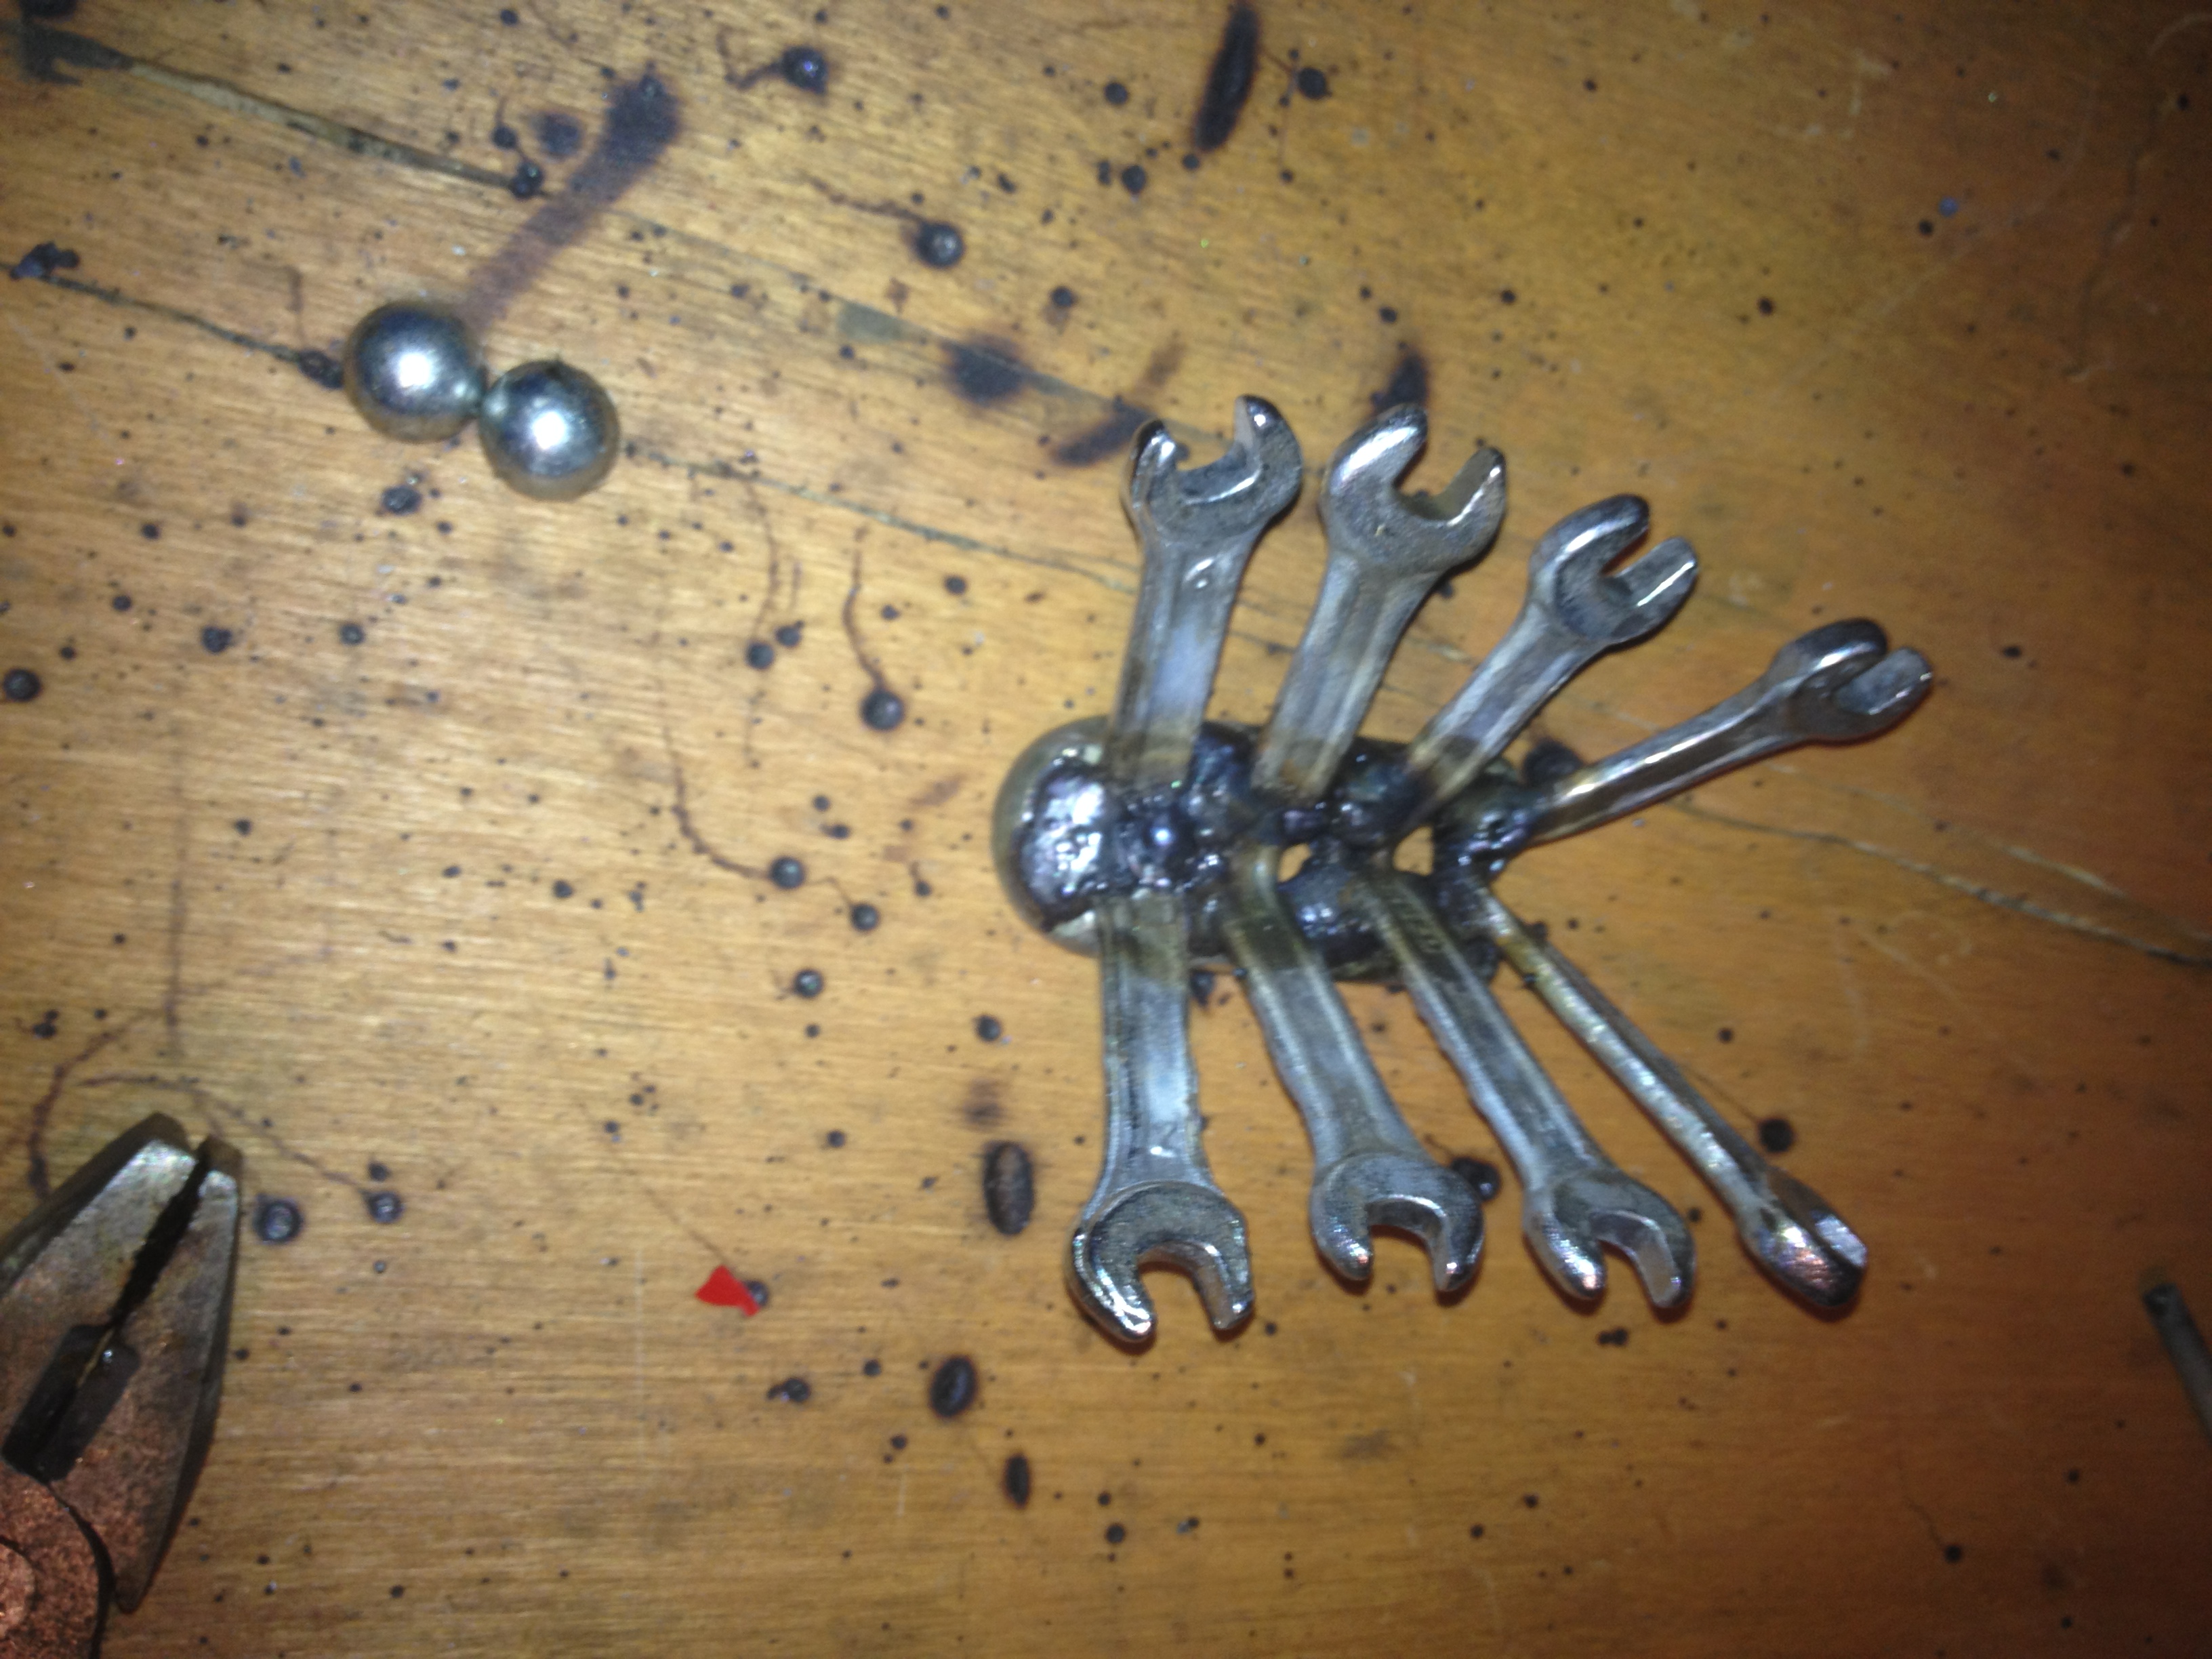
From these few random parts I would create another, much smaller crab. A few small spanners, a couple ball bearings, couple bolts & nuts & the fuel filter tap & carb from the Clinton engine and a U shapped bit from an old fitness machine. The carburettor is cast aluminium and as such I cant weld to it, so I would bolt it to the leg frame/chassis once I had it ready. Firstly I cut 4 small spanners in half to give me 8 identical legs, these 8 were then welded to the underside of the U bit


With the legs done I made a small steel bracket from an off cut of black bar and welded it to the top of the U bit, the two holes either side would allow me to bolt the aluminium carb to the steel chassis. However before I did that cut in half a slightly larger spanner (as seen in the lower left corner of the last image) and then welded the 2 half’s at differing angles to the front of the U bit to act as the claws for the smaller crab. Next up the BBs were welded to the top front side of the fuel tap, this allows the tap head to still be turned left to right. Next the tap itself was welded between the claws. Thank god it was steel and not brass as I at first thought. Finally the carb was bolted to the chassis, and I had a little sculpture to go with the big one.


So the final hurrah is to fix both crabs onto the board. First a few coats of Danish oil, nice. As I said before I drilled, countersank and then fitted big screws through the wood, so I could weld the crabs legs to the screws. I did this for both crabs, and once they were both welded to the board I touched up the wood with a tad more oil on a bit of cloth.


Finished!!!!! And yes, that is a vintage 1980 ATAT.

Welds look like shit, try a tig welder and rods to suit chromium steel!
Who asked you fucko?! If I had a tig welder I’d use it, but part of the deliberate charm of these beasts is that they look like they grew, not were welded on a production line.